Contents
When faced with damage in your home, knowing how to respond can make all the difference. Start by evaluating the extent of the damage and document everything for insurance. Quickly turning off the water source can prevent further issues. It’s vital to act fast, but there’s a process to follow for effective repairs. Understanding the next steps can save you time, money, and stress. Let’s explore these essential tips further.
Key Takeaways
- Conduct a thorough visual inspection and document damage with photos for accurate insurance claims and repair guidance.
- Use a moisture meter to detect hidden moisture and assess damage severity effectively.
- Remove standing water quickly and use fans and dehumidifiers to dry affected areas to prevent further damage.
- Seal leaks immediately and maintain exterior drainage systems to prevent future water damage issues.
- Select moisture-resistant materials for repairs and ensure proper installation for long-term durability and aesthetics.
Assess the Extent of Water Damage
How can you effectively assess the extent of water damage in your home? Start by visually inspecting all affected areas. Look for signs like discoloration, peeling paint, or warped flooring.
Use a moisture meter to get precise readings; this water damage assessment tool will help you identify hidden moisture behind walls and under floors. Next, categorize the damage by severity. A damage severity evaluation helps you understand whether it’s minor, moderate, or severe, guiding your repair decisions.
Be sure to check for mold growth, as it can develop within 24-48 hours in damp conditions, jeopardizing your health. If the damage is extensive, consider consulting a professional. They’ll provide insights and resources to ensure you’re not tackling this alone.
Turn Off the Water Source
When you notice water damage, the first step is to turn off the water source to prevent further issues.
Locate your main shut-off valve, which is usually found near your water meter, and make certain it’s closed.
This quick action can save you from extensive repairs and additional costs.
Identify Water Source Location
Determining the location of the water source is essential in addressing any water damage issues effectively.
Start by performing thorough water detection around your home. Check areas prone to leaks, such as under sinks, behind appliances, and near your water heater. Look for signs of moisture, mold, or discoloration on walls and ceilings, which can indicate a leak.
Don’t forget to inspect your basement and crawl spaces, as these are common trouble spots. Once you locate the source, you can take immediate action to minimize damage and prevent future issues.
Use the Main Shut-Off Valve
In an emergency, knowing how to quickly access and use your main shut-off valve can save your home from significant water damage.
Understanding the main valve’s importance and its shut-off location is essential for every homeowner. Here’s what you need to do:
Locate your main shut-off valve: Typically found near the water meter or where the water line enters your home.
Familiarize yourself with the valve type: It may be a round wheel or a lever.
Practice turning it off: Regular practice keeps you ready for emergencies.
Label the valve: Consider marking it clearly for easy visibility.
Inform family members: Make sure everyone knows its location and how to operate it.
Taking these steps can make a significant difference when every second counts.
Prevent Further Water Damage
After locating and turning off your main shut-off valve, it’s time to focus on preventing further water damage. Start by removing any standing water with a pump or wet vacuum. Use fans and dehumidifiers to dry out the area quickly. Consider applying waterproofing techniques to affected walls and floors to minimize future issues. It’s also wise to check your insurance coverage, as some policies may cover water damage repairs.
| Action | Purpose |
|---|---|
| Remove standing water | Prevent mold and damage |
| Use fans | Increase air circulation |
| Apply waterproofing | Protect against future leaks |
| Check insurance | Verify you’re covered |
Taking these steps can save you time and money while keeping your home safe.
Remove Standing Water Promptly
Standing water can lead to considerable damage if not addressed within 24 hours, so it’s crucial to act quickly.
You can prevent further problems through effective standing water removal. Here are some steps you should take immediately:
Identify the source: Determine where the water is coming from to stop it.
Shut off utilities: Turn off electricity and gas to avoid hazards.
Use a pump or wet vac: Extract the standing water as soon as possible.
Remove furniture and belongings: Clear the area to minimize damage to your possessions.
Call professionals: If the situation is severe, seek help from water damage specialists.
Taking prompt action can notably aid in water damage prevention, protecting your home and ensuring a safer environment for you and your family.
Don’t wait—address standing water immediately to safeguard your home.
Dry Out the Affected Areas
After removing standing water, it’s essential to assess the extent of the water damage in your home.
Use dehumidifiers effectively to extract moisture from the air and surfaces, and make sure to ventilate affected spaces thoroughly to speed up the drying process.
Acting quickly can help prevent further damage and mold growth.
Assess Water Damage Extent
When you discover water damage in your home, it’s essential to assess the extent of the problem before moving forward. A thorough water damage assessment helps you determine the necessary steps for repair.
Here are some effective damage evaluation techniques to contemplate:
Inspect visible areas for discoloration or warping.
Check hidden spots, like behind walls and under flooring.
Use a moisture meter to gauge dampness levels.
Look for signs of mold growth, which indicates prolonged moisture.
Document everything with photos for insurance purposes.
Use Dehumidifiers Effectively
Dehumidifiers are essential tools for effectively drying out areas affected by water damage. To maximize their efficiency, pay attention to your dehumidifier settings and ensure ideal placement. Position the unit in the center of the affected space, away from walls and furniture, to allow for better airflow.
Here’s a quick reference table to guide you:
| Dehumidifier Setting | Recommended Use |
|---|---|
| High | Severe water damage areas |
| Medium | Moderate moisture levels |
| Low | Light humidity or ongoing drying |
| Continuous | Large spaces or extreme dampness |
Ventilate Affected Spaces Thoroughly
To effectively dry out areas affected by water damage, you need to secure proper ventilation.
Good air circulation helps in reducing moisture and preventing mold growth.
Implement these air circulation techniques and moisture control methods to secure a thorough drying process:
- Open windows and doors to create cross-ventilation.
- Use fans to direct airflow toward damp areas.
- Install exhaust fans in bathrooms and kitchens.
- Keep interior doors open to promote air movement.
- Consider a portable air purifier to enhance air quality.
Clean and Disinfect Surfaces
Although it’s easy to overlook, cleaning and disinfecting surfaces is essential after any damage repair, as it ensures a safe and healthy environment.
Start with thorough surface cleaning to remove dirt, dust, and debris. This first step is vital because it prepares your surfaces for effective disinfection.
Next, choose the right disinfectant types for your needs—look for EPA-approved products that can eliminate harmful germs and bacteria.
Pay special attention to high-touch areas like doorknobs, light switches, and countertops, as these are hotspots for contaminants.
When applying disinfectants, follow the manufacturer’s instructions closely, ensuring you let the product sit for the recommended time to maximize effectiveness.
Check for Mold Growth
As you inspect your home after damage repairs, checking for mold growth is vital, especially in damp areas like basements and bathrooms.
Mold can develop quickly in moist conditions, so being proactive is essential. Here are some effective mold prevention strategies and remediation techniques to keep your home safe:
Maintain low humidity: Use dehumidifiers to keep humidity levels below 60%.
Ventilate properly: Ensure proper airflow in areas prone to moisture.
Seal leaks: Fix any leaks in roofs, pipes, or walls immediately.
Inspect regularly: Check hidden areas like behind appliances and under sinks.
Act fast: If you find mold, use appropriate remediation techniques to address it promptly.
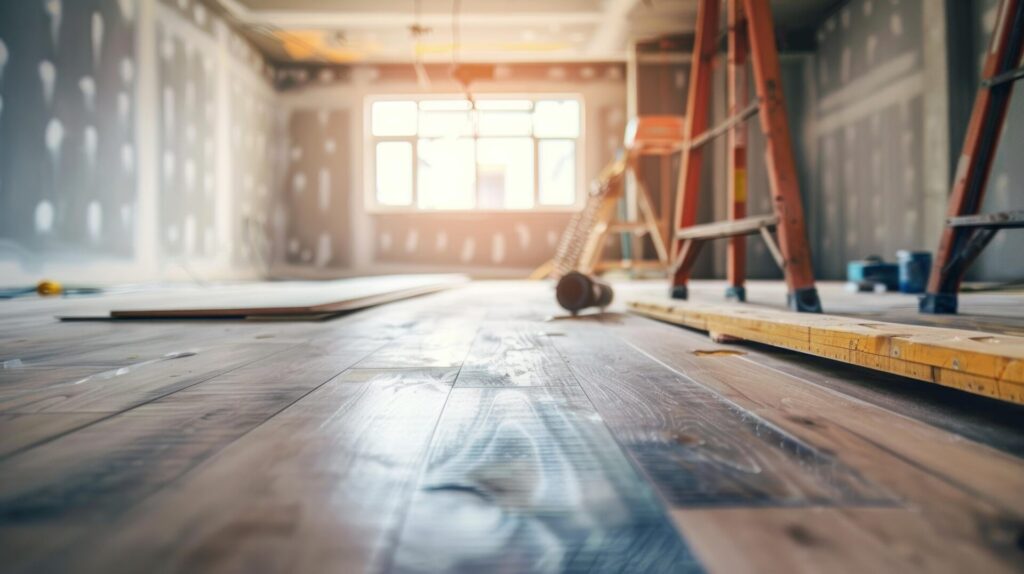
Repair and Restore Affected Materials
After addressing any mold issues, it’s time to focus on repairing and restoring the affected materials in your home.
Start by evaluating the damage; whether it’s drywall, flooring, or cabinetry, the right material selection is vital. Choose materials that match your home’s aesthetic and withstand future issues, like moisture-resistant options.
Once you’ve selected your materials, employ effective restoration techniques. For minor damage, such as scratches or dents, sanding and refinishing can breathe new life into surfaces.
For larger repairs, you might need to replace sections entirely, ensuring a seamless blend with existing structures.
Remember to follow proper installation guidelines and utilize appropriate tools for the best results.
Review
In damage repair, “an ounce of prevention is worth a pound of cure.” By following these essential tips, you address immediate concerns and safeguard your home against future issues. Keep a vigilant eye on leaks, maintain your drainage systems, and use moisture-resistant materials during repairs. By being proactive, you can ensure a safer and more resilient living space for you and your family. Take action now, and your home will thank you later.
Recent Posts
What Tools Are Best for Emergency Sewage Removal?
When faced with emergency sewage removal, it’s vital to have the right tools at your
Top Tools for Residential Sewage Emergencies
When a sewage emergency strikes your home, having the right tools at your disposal is
10 Essential Tools for Emergency Sewage Removal
In emergency sewage situations, the right tools can make the difference between a manageable cleanup